The Ultimate Backpacking Guide for Beginners
From early 2019 to the pre-pandemic 2020, the buzz on travel trends was all about sustainability, off-the-beaten-path, green tourism, and experiential tours. Everyone had access to traveling that, for most people, the main priority was whether or not the trip will add value to them as individuals. Then the next thing we know, because of social distancing and travel restrictions, the limelight shifted to backpacking.
Most people prefer backpacking because not only it is budget-friendly, it also allows us to experience the day-to-day lives of the locals. They pave the way to off-the-beaten-path destinations that capitalize more on holistic travel experiences. Indeed, backpacking shows us what we have been taking for granted, thus make us more eager to protect the sustainability of our surroundings for the future generation.
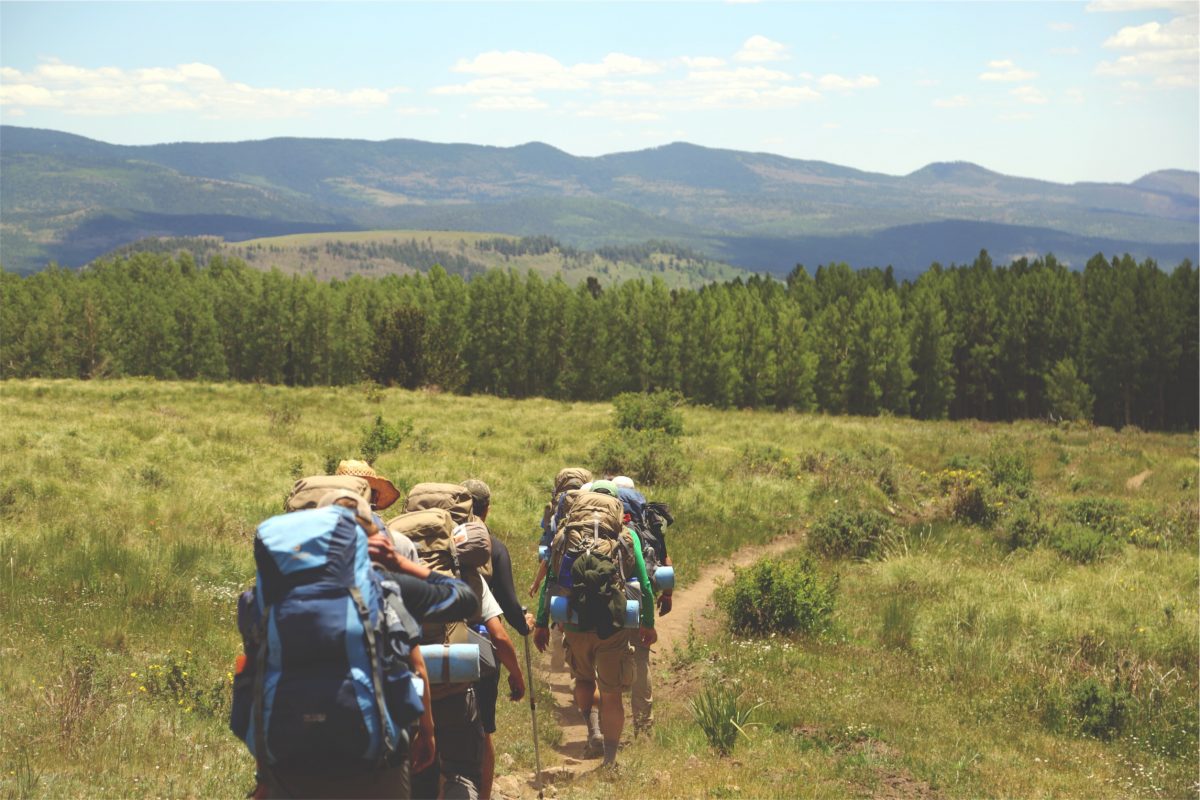
Photo by Austin Ban from StockSnap
What is backpacking and what to expect from it?
Backpacking is a very broad concept that often confuses a lot of non-backpackers with hiking. Perhaps this is because there are people who hike with huge backpacks equipped with sleeping bags or pop-up tents that people assume that all hikers are backpackers. But actually, they are different concepts.
When you say hiking, it just means that a person is committing to a long walk probably towards the peak of a mountain and then down again. Sometimes, especially those who are not going to camp in the mountains, hikers don’t even bring anything aside from their water jug and towel.
On the other hand, backpacking is when a person is traveling, bringing with them a huge bag equipped with their toiletries, camping gear, sleeping bags, first aid, and other backpacking items that they might probably need in the span of their long travel. Unlike other vacation travelers, they don’t only stay on a beach or a hotel for a week. Usually, they take several weeks to months traveling from one country to another and fully experiencing each place they visit, often living like a local. Most of them book hostels, eat in local restaurants, meet locals, and hitchhike to another country.
In short, backpacking is bringing your big bags to travel either to a mountain to hike or travel from one city to another.
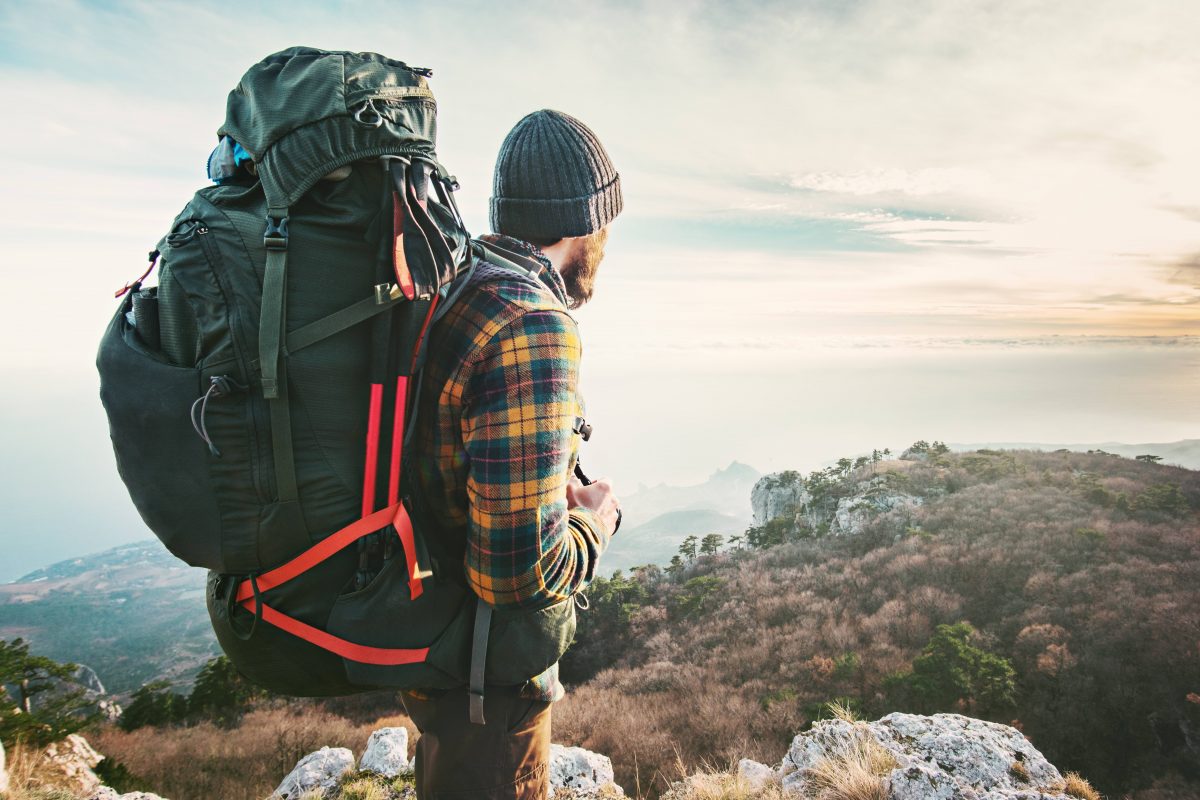
Image from Adobe Stock
Ultralight Backpacking
Ultralight backpacking is another loose concept that was shaped out of arbitrary decisions. In the 1960s, it was a thing when backpackers would bring more than 50 pounds of weight on their back. At the start of the 1990s, however, a lot of backpackers were introduced to the comfort of lightweight gears.
Ultralight backpackers often only bring backpacks that weigh less than 30 pounds. The base weight (without the water and food) should only be at around 10 pounds. This type of backpacking may be challenging for beginners because they have to solely rely on themselves for their safety and comfort during the span of their travel. Besides, the more lightweight the gears are, the more expensive they may be. This may be uncomfortable at the beginning but after a few backpacking activities and backaches, you will understand why this was conceptualized.
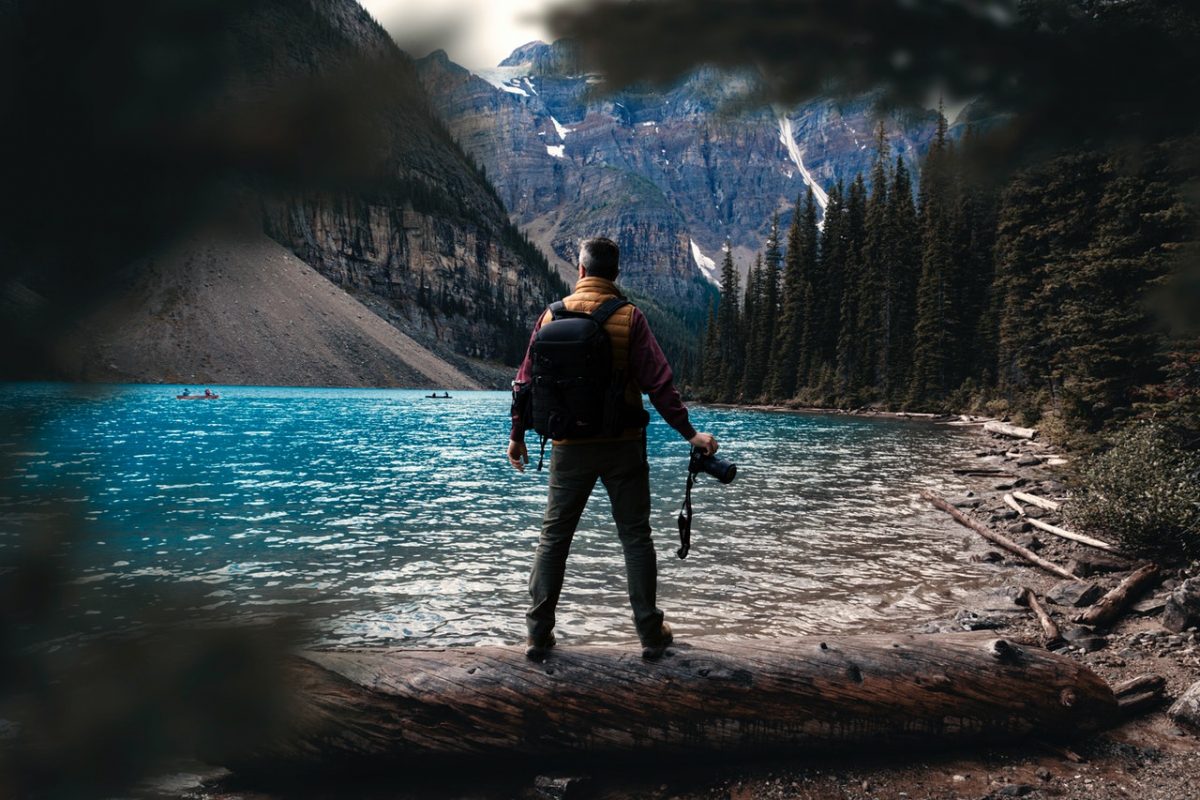
Photo by Andre Furtado from Pexels
Flashpacking
The idea of backpacking connotes that the person is traveling on a budget. As much as possible, budget backpackers would opt for a ten-person than a four-person hostel to save money, which they would rather use on food and transportation.
Yet, when you’re a Flashpacker, you would opt for a private hotel room in a three-star hotel because it’s more comfortable than a ten-person hostel. Similarly, you are also the type who would rather go for a US$50 two-hour flight than an uncomfortable 21-hour bus ride worth US$20.
As a flashpacker, you’re the median between a backpacker and a non-backpacker. You are budget conscious but at the same time, you don’t constrict yourself from comfort. You have a considerably larger budget that you could use to book a more decent hotel as well as engage in tours that will make your trip more authentic and memorable.
Although it has become normal for backpackers to bring gadgets on their trip, flashpackers are more tech-savvy who bring with them high-tech cameras (could be a mix of the impressive multi-lens DSLRs and pricey drones), the latest laptop, and smartphone.
How to Plan a Backpacking trip?
Planning a backpacking trip is not that different from planning a normal holiday. It also starts with when and where, and with considerations to your purpose and preferences. For beginners, before planning big and decide to backpack to the other side of the world, you may opt to backpack around the U.S. first. There are many national parks and recreation sites in the U.S. that can jump-start your backpacking escapade.
Photo by Piviso from Pixabay
1. Choose and Decide on a Backpacking Destination
At this point, you already have an idea of how long you’re willing to travel. There are 52 states in the U.S. that you can choose from, each state has a different climate and terrain. If you get easily cold, you may opt for desert campsites in Arizona. Or, if you prefer all-year-round winter weather, you may opt for the campsites in the northern part of the U.S.
However, for beginners, we recommend that you opt for a state that has a more tolerable climate such as California. California has a Mediterranean climate. It’s neither too hot nor too cold. During summer, the weather is usually dry and warm. While during winter, the weather is usually wet but clement. Moreover, although the mountainous region of Sierra Nevada receives a copious amount of snow, it doesn’t snow in entire California.
So as a beginner, you may opt for California’s campsites during summer to get a feel of how backpacking works without worrying too much about the weather.
Let’s say that you will be having your first backpacking at the UNESCO heritage site, the Yosemite National Park, during summer. The park offers 13 campgrounds that will allow you to wake up to these majestic gigantic mountains, spectacular waterfalls, and countless trees. As of September 2020, the only opened campsite is the Upper Pines at Yosemite Valley.
The Upper Pines campsite has 238 sites that can accommodate tents, RVs, and trailers. It’s near a toilet with drinking fountains and showers (Curry Village and Housekeeping Camp), near a Grocery (Yosemite Village and Curry Village), and has a fire ring, picnic tables, trash receptacles, and food lockers.

Photo by J. Kelly Brito from Unsplash
2. Plan your Essential Backpacking Gears
There are many things that you can do while backpacking. Aside from camping and socializing with other campers, you can also hike the mountains, raft in the river, and sign up for tours.
Here is your essential backpacking gear list:
Lodging
- Tent. You may get your own tent at Amazon, but you may also rent a cabin at Housekeeping Camp or other campsites.
- Sleeping bag. You may also get your own sleeping bag at Amazon or rent one. But we recommend that you buy one for your own instead of renting to save more than 60%.
- Repair Kit. In case your tent gets ripped, or your headlamp runs out of battery, you should have the means to fix them. So, some of the items in your repair kit are duct tapes, 50-feet nylon cord, stretch cords with hooks, safety pins, a sewing kit, extra batteries, and extra buckles.
Gears
-
Hiking Backpack. The most important gear that you should have because this will carry all of your things. You don’t need to get the most expensive one, but just make sure to buy a durable one.
-
Hiking Boots. Hiking boots are not only for fashion, but they are also for your protection when you engage in different activities. Either you’re really going for a hike, or will just use them to join a tour, hiking boots give maximum support to your feet and ankles so you will be comfortable in the fast-paced long walks.
-
Weather-appropriate clothes. If it’s summer you don’t need ultra-warm jackets, but since the weather can get as low as 10°C at night, you may opt to bring sweaters. Or, if you’re going to hike you may bring some windbreakers. Just make sure that they’re comfortable and as light as possible.
-
Headlamp. To help you navigate at night more freely and safely, you may wear a headlamp so you can use your hands without constraint.
-
Smartphone. Aside from this can be used for emergency calls and photography, this can also be used for navigation. Just make sure to bring a premier quality MAH power bank.
Kits
- Matches or Lighter. Either you want to light the fire ring near your tent or your stove needs a little push, make sure to bring a match or a lighter with you.
- First Aid Kit. This includes relief for the usual headaches, allergies, colds, coughs, and stomachaches. Band-aids, alcohol, betadine, and other wound remedies are also necessary.
- Toiletries. Whether you are going hiking or you just plan to stay in your tent the whole day reading a book, you will need toiletries during your stay.
- Sunscreen & Sunglasses. Make sure to bring these to protect you from sunburn or to avoid any accident from squinting your eyes.
Food
- Kitchen Supplies. This can range from your meal utensils and containers to a multi-purpose knife that can help you open your cans or slice fruits.
- Plenty of Pre-packed Food. If you are only going to stay for three days and two nights. Bring food good for five days and four nights just to give you an allowance. There should be grocery stores near campsites, but just in case they don’t have the food that you want, at least you have food. Also, make sure to bring healthy food.
- Water Jug. Bring at least a gallon of water jug so you can just refill them at nearby drinking fountains.

Photo by Ekaterina Bolovtsova from Pexels
3. Plan Your Backpacking Food and Meals
There is no list of food that is perfect for backpacking, but the best way to plan them is by starting with the rough draft of what are the activities that you will do.
According to the Office of Disease Prevention and Health Promotion (ODPHP), moderately active people who do a daily physical activity equivalent to walking 1.5 to 3 miles per day at 3 to 4 miles per hour can have a daily calorie intake of 2,400-2,800 (men ages 20 to 50) and 2,000-2,200 (women ages 20-50).
To illustrate, let’s say you’re going to hike Olmsted Point or the Lower Yosemite Falls which is only around 0.25 miles per way, you may only go for 2,200 calories (for women) and 2,800 calories (for men) per day. But if you’re going for a quite strenuous hike, at least for beginners, to Tenaya Lake which is around a 2.5 miles loop, you would probably double the calories. In short, planning your food is dependent on your activities and how much food your body needs.
When you already have a rough draft of the activities that you will do, you can now have a rough draft of the food that you will bring. Here is a sample of meal preparation for three-day backpacking at Yosemite National Park. You may add more portions or more variants that are good for a five-day backpacking trip.
Sample of Meal Prep
|
Breakfast |
Lunch |
Dinner |
|
|
Day 1 |
Hot oatmeal with banana and milk |
Chicken Burrito Wrap with water |
Packed Tuna Salad with water |
|
Day 2 |
Pancake with sausages and coffee |
Packed Beef Jerky with rice and juice |
Quinoa with Turkey and Broccoli |
|
Day 3 |
Muffins with eggs and bacon and juice |
Packed Carbonara with bacon and ham and water |
Cheesy baked potato with canned beans |
Pre-packed/Easy to reheat backpacking food:
1. Canned food
2. Pre-packed meals
3. Packed individual bread or loaf of bread
4. Snacks (chips, biscuits, or Granola bars)
5. Carton drinks (coffee, juice, or milk)
Photo by Bich Tran from Pexels
Backpacking Essentials
Weather Check
One of the things that should top your backpacking checklist is the weather check. The weather check will pretty much dictate the things that you can and can’t do. There are reliable websites such as the National Weather Service and Mountain Forecast where you can pin the nearest location for your next backpacking trip and show you the lowest and highest weather temperature as well as the wind speed. In the case of the National Weather Service they can also show you the weather for the next seven days, so can make a more confident choice on the date of your backpacking.
Most parks, like the Yosemite National Park, may close when the National Weather Service forecasts that it will experience winds of more than 30 mph or more than one foot of snowfall over 24 hours. However, there might be an instance when you will just find yourself in a taxing situation. But don’t worry there are backpacking training that will help you not only to be in shape but also to be confident to rely on yourself when a formidable experience arises.
Backpacking Training
Despite ticking every item in your backpacking checklist, weather changes are still inevitable. Most backpacking training revolves around training your body physically. Specifically, they alternate strength and cardio training to build a stronger endurance within the standards of backpacking. But it is more important to be holistically healthy, which means that your physical, mental, and emotional health are all in green light.
Aside from physical health, you also have to be mentally prepared during the backpacking. If your tent gets ripped by a falling branch of a tree, do you know how to sew them properly? Or, if you suddenly fall into quicksand, do you know how to get off of it? If the bathroom is not within your standard of clean, would you still take a bath? Backpacking sometimes pushes you out of your comfort zone. If you are not mentally prepared for the inevitables, you will have a hard time.
Lastly, backpacking is good for emotional health. Let’s be real, sometimes people don’t go backpacking for vacation. Sometimes, they just want to reconnect with nature to emotionally heal from their suffocating everyday lives. But although this happens a lot of times, emotional health is also about being patient when you’re in a queue to get a train ticket or trying your best to get along with the people you meet by engaging in a small conversation or not being utterly rude to anyone. There may be cultural differences between the group, but being kind is always the universal language.
Photo by Kelly Sikkema from Unsplash
Estimated budget to spend for backpacking
The following sample budget is based on a three-day backpacking trip to Yosemite National Park for two adults. The entrance fee starts from US$20, but if you have America the Beautiful Pass, you will be exempted from paying the entrance fee and standard amenity fee!
A photo from the Autocamp website
Luxury
Estimated Price: US$1,184 per person
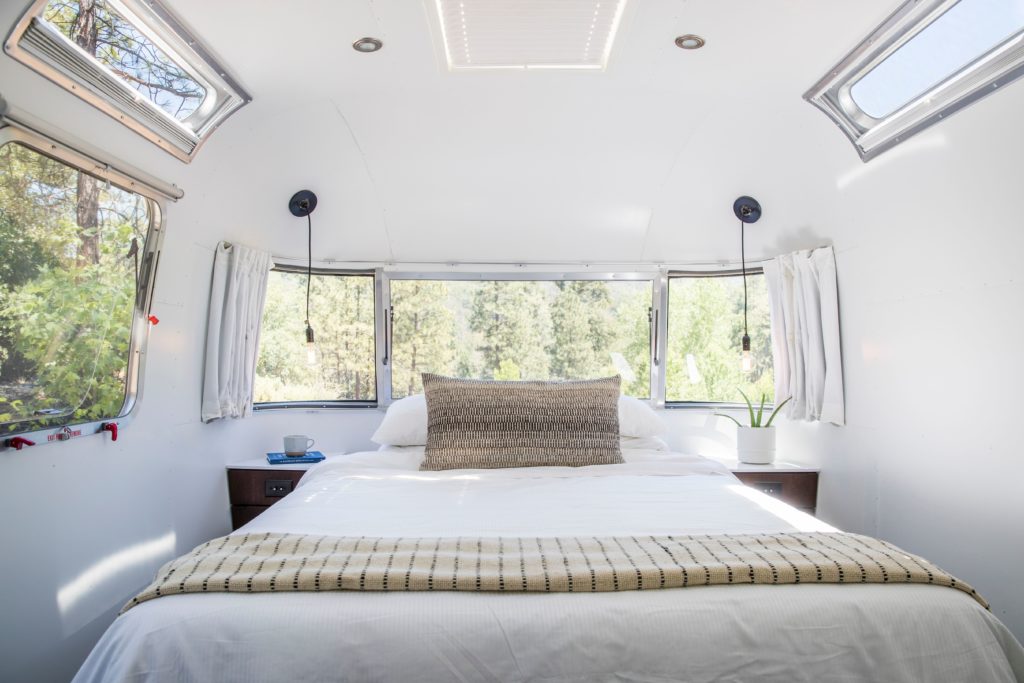
Accommodation: This is Vista Suite Accessible (US$414 per night for two adults) from AutoCamp Yosemite. This is a fully-furnished and luxury container house that has a bedroom, private bathroom, kitchen, living room, and a small patio with tables and chairs. It’s a small space but it is aesthetically pleasing and very functional. The designers made sure that each space is used efficiently, at the same time, the color combinations exudes a cozy vibe. Also, the bathroom is filled with premium Ursa Major organic products that will make you feel notch the spa-like relaxation.
There are other accommodation options in AutoCamp Yosemite such as the Airstream Suites, but the prices vary per day so you may check on their website and key in your intended dates.
Tour: The White Wolf Private Tours offers tours to Yosemite in a black car. Some of their tours are the Yosemite One-day Tour (US$1,200), wherein a Wilderness First Responder or EMT certified guide takes you into a 17-hour historical trip to Yosemite. In this tour, you may opt to have a private guided hike to one of the peaks in Yosemite, or you may also just sightsee the beautiful wonder in the Mercedes GL. Aside from this, they also offer three-nights to four-nights guided camping (US$2,000 per person based on three minimum persons) in one of the peaks in Yosemite. With this camping, you don’t need to bring a tent, sleeping bag, equipment, and food because they got you all covered.
Meal: Around US$50 per person per day. Mostly freshly cooked meals or restaurant meals.
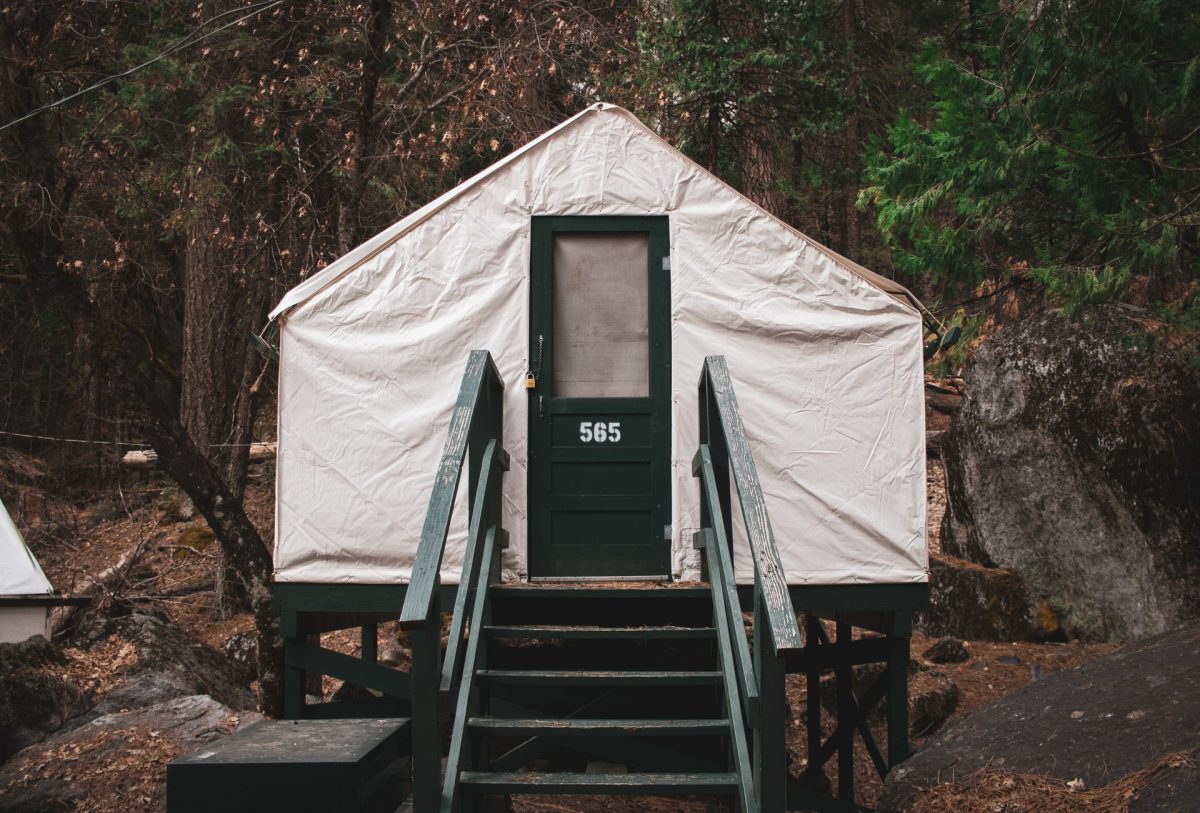
Photo by Christian Mack from Unsplash
Average
Estimated Price: US$214 per person
Accommodation: There are heated Canvas Tents (US$105) in Curry Village inside the Yosemite National Park. They are an upscale version of the typical camping tents because you don’t need to crawl to get in. Similar to military camps, these tents are structured with wooden frames and doors. They also have double or twin-sized beds, electrical lightings, as well as wool blankets.
Tour: There are many tours that you can do around the Yosemite National Valley, but one notable activity that you might enjoy is rafting in Merced River near the Curry Village. It costs US$57 per raft. Two people are allowed per raft. This could be a tandem of an adult and a child (more than 50lbs). You don’t need to be a professional rafter to rent a raft. Besides, though a life vest is provided, the Merced River is known for being calm and safe.
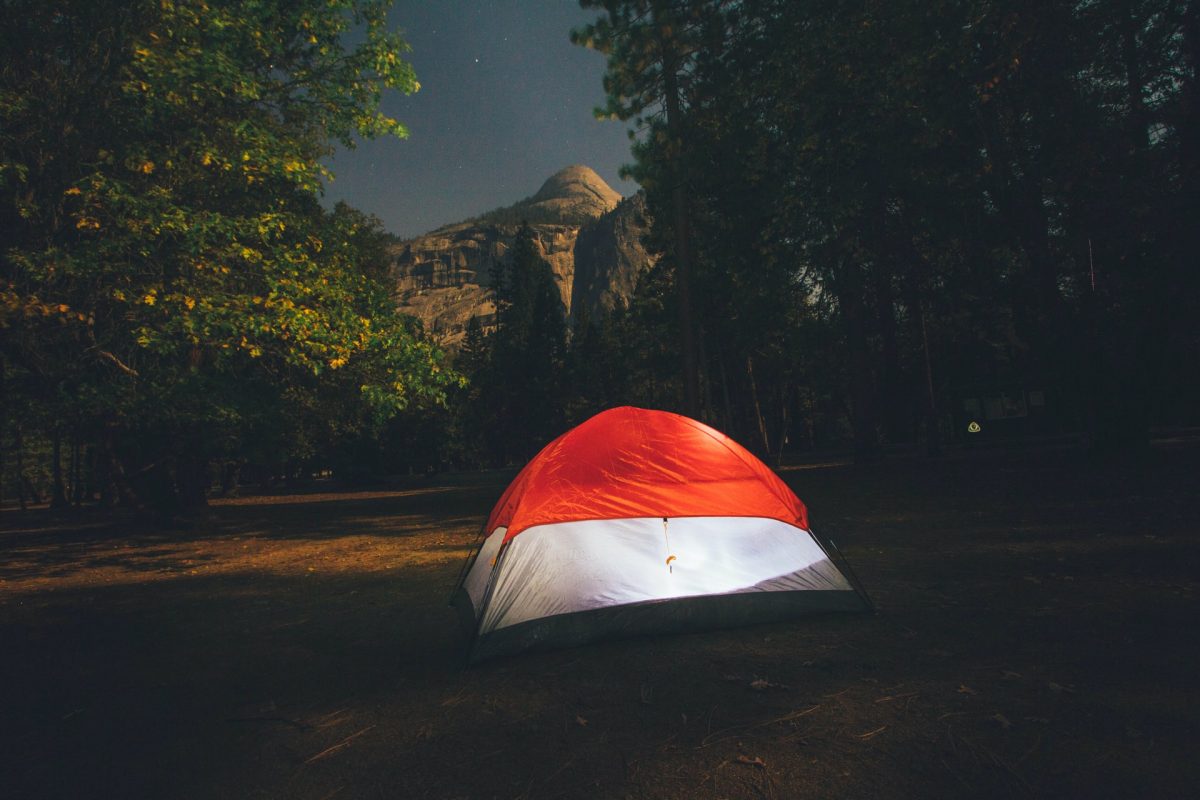
Meal: Around US$20 per person per day. This is most likely a mix of pre-cooked meals, canned goods, and fresh food.
A photo by Nathan Dumlao from Unsplash
Budget
Estimate Price: US$134.15 for the first time and can go down to US$80 on your next visit.
Accommodation: You can either buy a tent from Amazon (US$57.58), so that the next time you go backpacking, you will no longer need to pay for a tent. Or you can also buy a sleeping bag (US$26.57). This will be more affordable because sleeping bag rental costs US$25 per day, and for a 3-day and 2-night trip, that would total to US$75. Whereas, if you buy one time, you’ll be able to save more than 60%.
Tour: To save on getting tours, you may opt for the non-guided tour and hike the mountains by yourself or with our group. Or you can sightsee at the rivers, lakes, and other natural wonders in Yosemite National Park.
Meal: Around US$10 per person per day. This will include pre-packed food and canned goods.
Do’s and Don’t When Backpacking
1. Don’t bring any unnecessary stuff.
If you are just going to backpack for three days, only bring clothes enough for three days. Skip the ten-product skincare routine, or at least put them in smaller travel-size containers or lessen them to five-products only. If you also know that you’re not going to cook and you’ve prepared pre-cooked meals, don’t bring stove and butane gas. Just bring the things that you know you will need.
2. Do bring your water jug, utensils, and containers.
This will help avoid single-use plastics and will prevent you from contributing to more trash in the park.
3. Don’t bring many photography apparatus.
Aside from bringing multiple DSLRs will make your bags heavy, you’re also there to live in the moment. Take enough photos for your souvenirs, but remember to take the time to look into these natural wonders and appreciate their beauty. But if you’re seriously into photography, there are also newer cameras that are lightweight and mirrorless that can be used instead of the bulky DSLRs.
4. Do your research on weather-appropriate clothes, recommended shoes, and durable gears.
A 20°C weather can be bearable to some, while intolerable to others. Some places can be 30°C but it’s too windy so it feels more chilly. That’s why it is very important to get to do your research on what kind of weather the place has, so you’re confident that the kind of clothes you bring are adequate for the weather. The same goes for durable gears. Keep in mind that not all expensive gears are better. You have to research on the gears that work for your needs and budget.
5. Don’t overplan.
Just like any other holiday, treat your backpacking as flexible as possible. It is good to have plans because they will let you get a bigger picture of what you’re going to do and the places that you want to visit. But don’t stress yourself too much. Be flexible and go with the flow. Accept the suggestions of the group, and allow yourself to explore things you didn’t think you can do.
Final Reminders
Backpacking is a very liberating activity that will allow you to rely on your skills and explore places you’d otherwise skip if you were on your usual holiday getaway. Up to this date, a perfect backpacking experience is still subjective to the preferences of the backpackers. But to possibly have the perfect backpacking experience, you have to plan them yourself or with people whom you’re going to backpack with.
Although it is advisable to not stick religiously to your plan, having a rough draft of your itinerary and meals will give you the freedom to confidently adjust your budget and trip duration. Whether you are a luxury backpacker or a budget backpacker, planning will allow you to lay out what kind of backpacking trip you’ll enjoy next.

